Starting Area
Hint 1
Look at the box on the floor by the pipes.
Hint 2
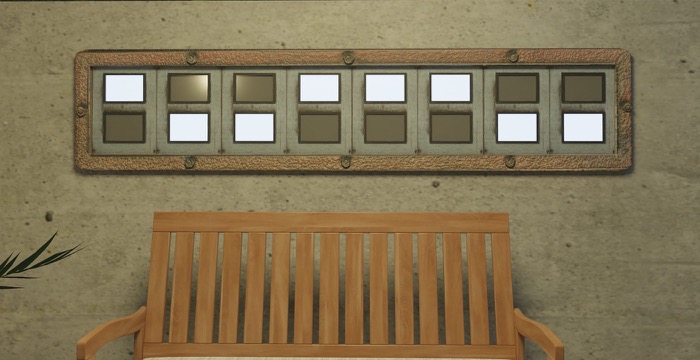
Slide the bars until the lights visible in each one are yellow.
Reveal Solution

Hint 3
Collect the camera and photo album from the box.
Hint 4
Collect the key from behind the camera.
Hint 5
Unlock the door with the key.
Hint 6
Walk through the corridor into the other room and collect the key from the hook.
Hint 7
Turn the light off by the door to notice a crack in the wall.
Hint 8
Use the key to unlock the padlock in the hole in the ground.
Hint 9
Collect the chain.
Hint 10
Collect the metal ball from the first room.
Hint 11
Combine the chain with the metal ball by dragging one onto the other in the inventory.
Hint 12
Place the ball and chain on the hook in the second room.
Hint 13
Swing the metal ball into the wall to create a ‘door’.
Hint 14
Walk through the wall and notice the locker on the right.
Hint 15
Walk back into the first room and collect the glass plate under the VCR.
Hint 16
Place the glass plate on the cabinet screen in the corridor.
Hint 17
Take a photo of the markings on the plate and the shapes behind it.
Hint 18
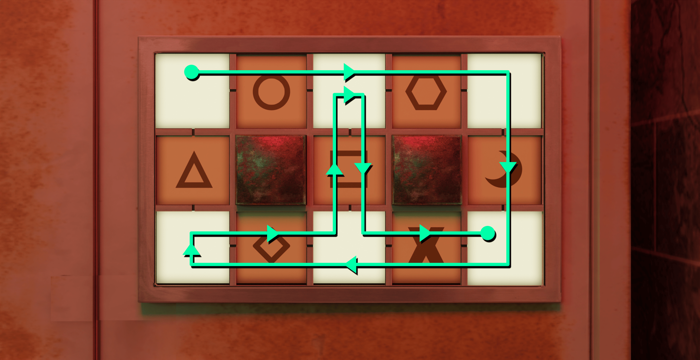
Go to the locker and move the viewer across the correct tiles to display the shapes from the glass plate path.
Reveal Solution

Hint 19
Collect the pole from the locker.
Hint 20
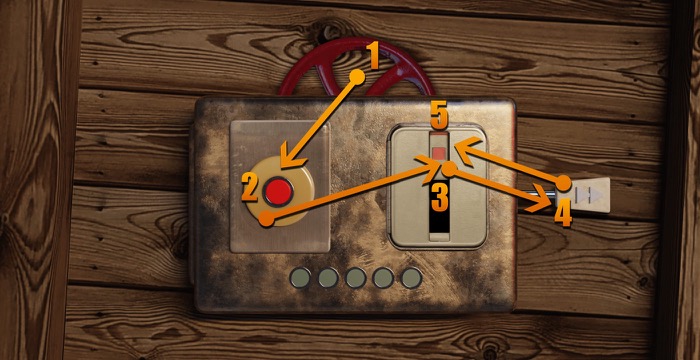
Press the red button in the lock box in the hole in the second room and note down the light order.
Hint 21
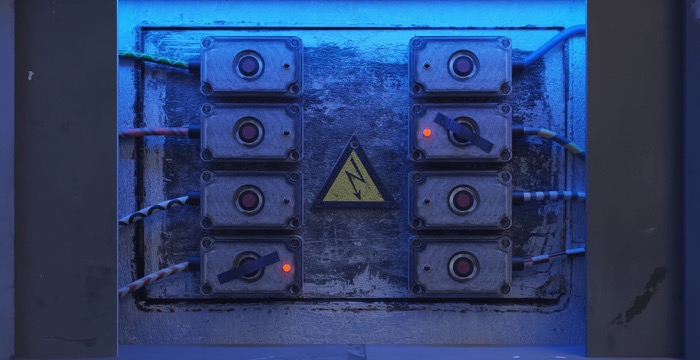
Turn the valves in the first room in the same order as the lights to block the steam.
Reveal Solution

Hint 22
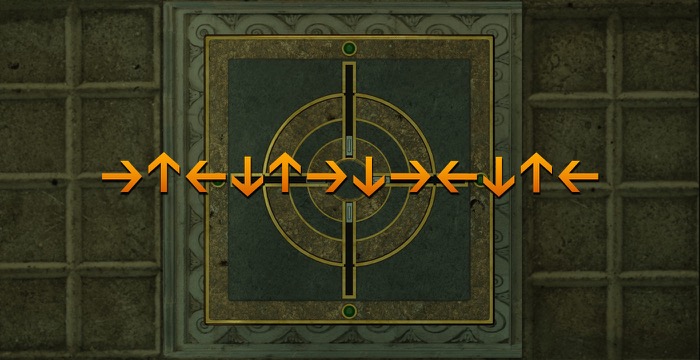
Look at the scrolling screen on the wall in the second room and note down the shapes.
Hint 23
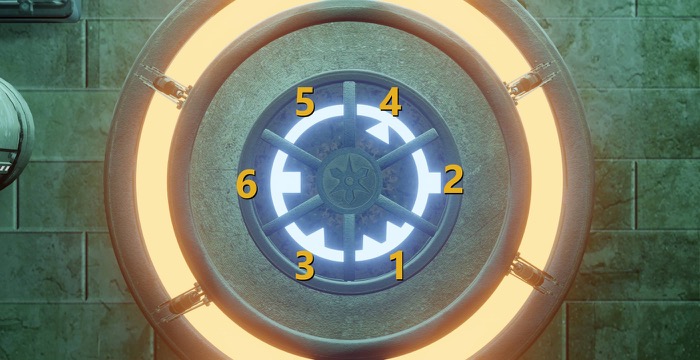
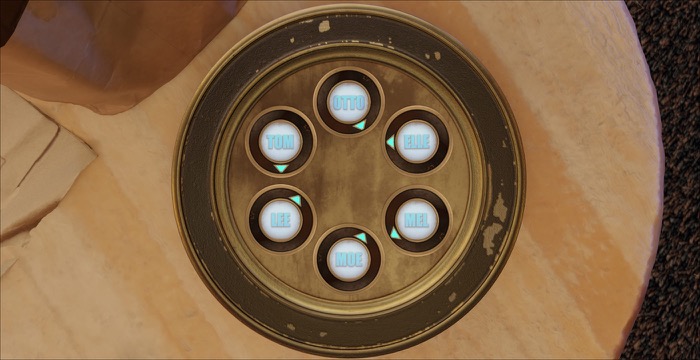
Go to the circular puzzle in the first room near the pipes and press the shape buttons in the order as seen in the scrolling screen.
Reveal Solution

Hint 24
Collect the security card.
Hint 25
Combine the security card and pole to create a ‘remote hacking device’.
Hint 26
Use the hacking device on the bridge controls the other side of the water.
Hint 27
Go into the room on the left to see some clocks on the wall.
Hint 28
Take a photo of the writing on the wall in the right hand room.
Hint 29
Take a photo of the writing on the floor of the corridor.
Hint 30
Collect the toothpicks from the hole in the second room.
Hint 31
Use the writing from the previous two photos to work out what you need to do with the clock.
Reveal Solution
Set the clock on the left to 00:00 and use a toothpick on the reset hole of the clock on the right.
Bridge
Hint 32
Take a photo of the arrows on the floor near the benches.
Hint 33
Go to the pedestrian crossing and press the button when the little person is facing the direction of each arrow in the photo.
Reveal Solution

Hint 34
Collect the scrap of the postcard.
Hint 35
Take a photo of the graffiti on the steps.
Hint 36
Take a photo of the numbered buttons in the room under the bridge.
Hint 37
Draw a dot-to-dot over the numbered buttons photo and see which 3 lines cross, press these 3 buttons.
Reveal Solution

Hint 38
Collect the scrap of the postcard.
Hint 39
Combine both scraps of paper to get an address.
Apartment
Hint 40
Visit the new location.
Hint 41
Enter the van and take a photo of the writing on the panelling.
Hint 42
Head to the billboard and take a photo of poster.
Hint 43
Work out the positions of the van toolbox sliders from the letters N E A R on the poster.
Reveal Solution

Hint 44
Collect the keypad button from inside the toolbox.
Hint 45
Collect the paint scraper from inside the toolbox.
Hint 46
Walk down the alley and take a photo of the wiring near the bins.
Hint 47
Collect the tape pieces from the power box and place them over the correct buttons relating to the wires for the left hand bin light.
Reveal Solution

Hint 48
Collect the umbrella from the recently lit bin.
Hint 49
Use the umbrella to pull down the ladder near the billboard.
Hint 50
Use the paint scraper to pull down the middle billboard sheet.
Hint 51
Insert the keypad button into the keypad by the door.
Hint 52
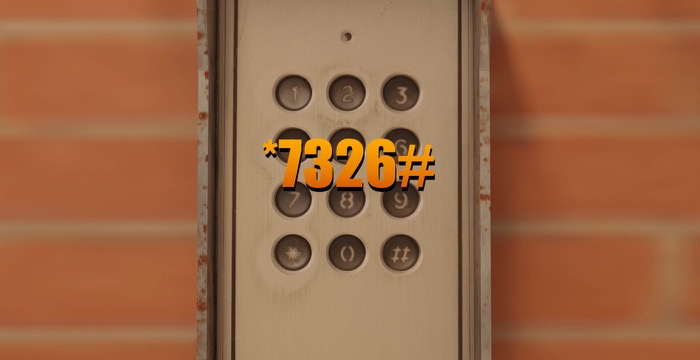
Enter the code from the billboard into the keypad to unlock the door.
Reveal Solution

Hint 53
Collect the empty coffee cup from the apartment foyer.
Hint 54
Go back to the alley bin, lift up the bin bag and collect the bin juice in the empty cup.
Hint 55
Pour the bin juice over the barrel fire in the alley.
Hint 56
Collect the charcoal from the barrel in the alley.
Hint 57
Use the charcoal on the notepad in the foyer to reveal the parcel box code.
Hint 58
Use the code from the notepad to unlock the parcel box.
Reveal Solution

Hint 59
View the address on the parcel in the parcel box.
Hint 60
Take a photo of the number plate on the van outside.
Hint 61
Use the van’s registration to call the lift at the correct floors then collect the crowbar.
Reveal Solution
The floor order is Basement, 1st, Ground, Basement, Ground, 2nd.
Hint 62
Take a photo of the note on the apartment door.
Hint 63
Lift up the welcome mat in the foyer and use the crowbar to remove the floorboard.
Hint 64
Take a photo of the building association board in the foyer.
Hint 65
Enter the symbols from under Mat Bearman on the association board into the cryptex under the floorboard.
Reveal Solution

Hint 66
Collect the apartment key from inside the cryptex.
Hint 67
Use the apartment key to unlock the 1st floor apartment door.
Hint 68
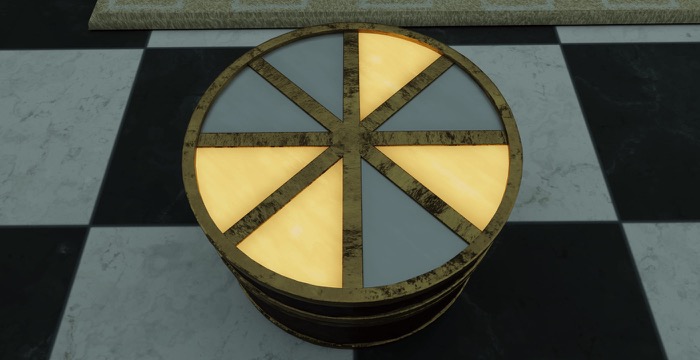
Head to the coffee table and take a photo of the pizza.
Hint 69
Go to the box on the floor of the bathroom and press the panels that correspond to the pizza slices.
Reveal Solution

Hint 70
Collect the stone piece.
Hint 71
Take a photo of the jars in the bathroom cabinet.
Hint 72
Reorder the books above the bed based on the number of different sands in each of the jars.
Reveal Solution

Hint 73
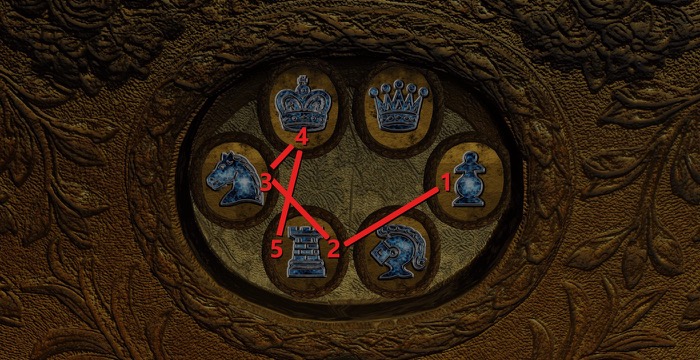
Take a photo of the chessboard in the bathroom.
Hint 74
Use the clue from the books and the chessboard to press the right buttons on the box above the left hand drawers in the bedroom.
Reveal Solution

Hint 75
Collect the key.
Hint 76
Take a photo of the painting on top of the wardrobe in the bedroom.
Hint 77
Take a photo of the artwork in the hall outside the bedroom.
Hint 78
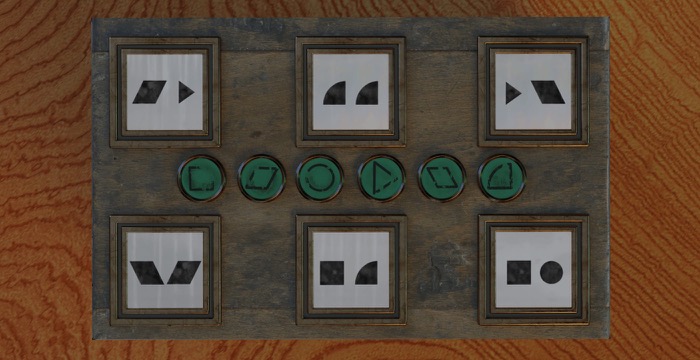
Use the clue from all 6 paintings to work out which shapes should be pressed for each screen on the box on the coffee table.
Reveal Solution

Hint 79
Collect the stone tile.
Hint 80
Collect the VHS tape from the wardrobe in the bedroom.
Hint 81
Insert the tape into the VCR under the TV in the main room and hit Record.
Hint 82
Travel back to the first room and put the tape in the VCR under the TV.
Hint 83
Use the order of the red circles on the TV to log in to the computer in the apartment.
Reveal Solution

Hint 84
Open Glitch Mail, select Smart Device from the 2FA list and hit Next.
Hint 85
Tap the Smart Device on the side table by the sofa, take a photo of the 2FA code and enter it in the computer.
Reveal Solution

Hint 86
Take a photo of the email from Anny and use the symbols to unlock the drawer in the bedroom.
Reveal Solution

Hint 87
Collect the stone tile.
Hint 88
Use the strong key to unlock the locked door in the hall.
Hint 89
Collect the stone tile from the table.
Hint 90
Collect the weird key from the table.
Hint 91
Remove the painting from the wall in the main room to reveal a safe.
Hint 92
Place all four stone tiles on the safe and unlock it.
Hint 93
Collect the bar matchbook.
Bar
Hint 94
Visit the new location.
Hint 95
Take a photo of the ‘Completed It’ magazine in the the cellar.
Hint 96
Take a photo of the pumps on the bar.
Hint 97
Take a photo of the album on the floor of the bar.
Hint 98
Go outside and take a photo of the movie poster on the wall.
Hint 99
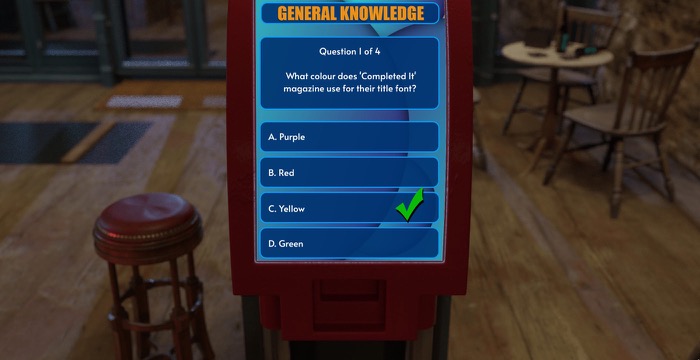
Answer the first pub quiz question.
Reveal Solution

Hint 100
Answer the second pub quiz question.
Reveal Solution

Hint 101
Answer the third pub quiz question.
Reveal Solution

Hint 102
Answer the fourth pub quiz question.
Reveal Solution

Hint 103
Collect the key.
Hint 104
Take a photo of the artwork on the wall of the top floor.
Hint 105
Press the jukebox buttons until the lights match the clue.
Reveal Solution

Hint 106
Collect the key.
Hint 107
Take a photo of the pool balls on the pool table.
Hint 108
Take a photo of the barrels in the cellar.
Hint 109
Use the numbers on the barrels and the pool balls to draw shapes on the photo that match the order on the barrels, then press the bar pumps that match these shapes.
Reveal Solution

Hint 110
Collect the key.
Hint 111
Take a photo of mirror in the toilet.
Hint 112
Use the note on the mirror to arrange the poker cards on the top floor.
Reveal Solution

Hint 113
Collect the key.
Hint 114
Switch the TV above the bar to the Cellar camera.
Hint 115
Press the red button on the pillar then walk to the bar TV to watch the delayed security feed and take some photos of the sequence, then enter the sequence in the panel near the red button.
Reveal Solution

Hint 116
Collect the key.
Hint 117
Place all five keys into the door by the poker room to unlock it.
Hint 118
View one of the posters in the room to give the phone under the table enough time to charge, then look at it.
Hint 119
View the message from the Car Repair Shop.
Hint 120
Visit the new location.
House
Hint 121
Head inside the house and collect the glowing ball from the main room.
Hint 122
Drop the ball into the box on the roof and make a note of the order it rolls in.
Hint 123
Move the slider on the gun box in the ball order to unlock it.
Reveal Solution

Hint 124
Collect the gun.
Hint 125
Go outside and get the pool ring.
Hint 126
Go inside and get the screwdriver from the utility room.
Hint 127
Use the screwdriver to open the vent in the utility room.
Hint 128
Pick up the ball bearing from inside the vent.
Hint 129
Load the BB into the gun.
Hint 130
Place the pool ring in the vent. The reason will become clear soon.
Hint 131
Go upstairs to the bedroom and open the vent ( no need for the screwdriver on this one ) and shoot the balloon with the gun.
Hint 132
Take a photo of the pattern on the safely cushioned egg and use it to unlock the puzzle on the dining table.
Reveal Solution

Hint 133
Collect the metal cog.
Hint 134
Collect the metal plate from the laundry basket in the utility room.
Hint 135
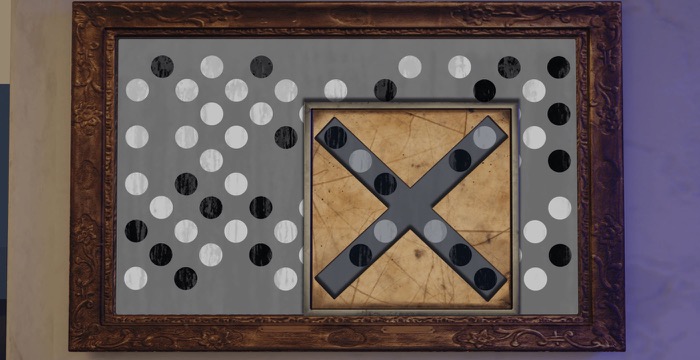
Place the plate on the artwork in the bedroom and line it up until it fits the circles, paying attention to match the fixed marbles on the coffee table. Take a photo of it.
Reveal Solution

Hint 136
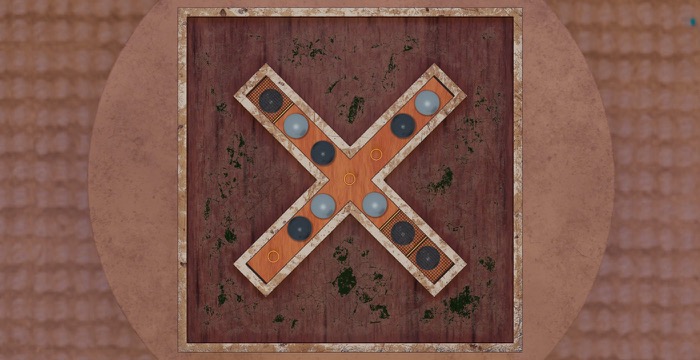
Use the photo of the painting to position the marbles in the box on the coffee table.
Reveal Solution

Hint 137
Collect the metal cog.
Hint 138
Go outside and use trial and error to activate the required light panels above the bench.
Reveal Solution

Hint 139
Unlock the luggage in the bedroom using the pattern of lights above the bench outside.
Reveal Solution

Hint 140
Collect the metal cog and RC car.
Hint 141
Use the screwdriver to remove the panel on the TV cabinet in the bedroom.
Hint 142
Place all 3 cogs into the workings inside the TV cabinet.
Hint 143
Take a photo of the notes in the bedroom wardrobe.
Hint 144
Position all the gears in the right order based on the notes in the wardrobe to unlock the TV. Pay attention to the rips in the paper.
Reveal Solution

Hint 145
Visit the new location.
Motel
Hint 146
Collect the loose change from the car.
Hint 147
Insert the coin in the newspaper machine to open it.
Hint 148
Collect a copy of the newspaper.
Hint 149
Place the newspaper under the locked reception door.
Hint 150
Pick up the pencil from the key return box.
Hint 151
Poke the key out of the reception door by using the pencil and pick it up.
Hint 152
Unlock the reception door.
Hint 153
Use the UV torch on the note on the table in reception and take a photo of the writing that’s revealed.
Reveal Solution

Hint 154
Take a photo of guestbook in reception.
Hint 155
Set the time and date of the clock to Dawn Fisher from the guestbook and take a photo of the clue displayed.
Reveal Solution

Hint 156
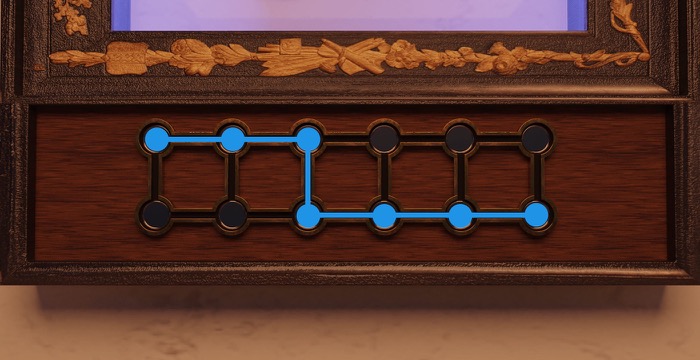
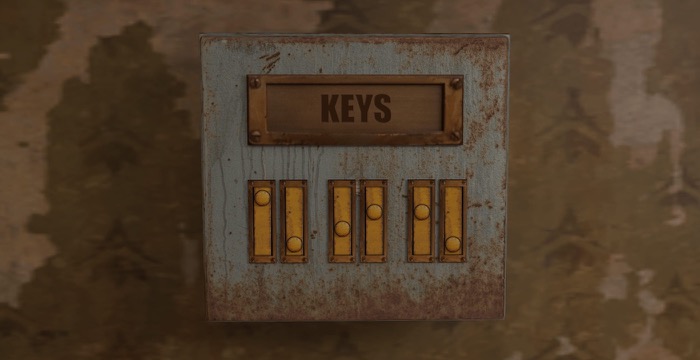
Slide the bars on the key box behind the desk to match the clue from the clock.
Reveal Solution

Hint 157
Collect the room key.
Hint 158
Collect the dough from the reception.
Hint 159
Unlock the room door.
Hint 160
Wring the dough out in the room.
Hint 161
Take a photo of the pattern on the rolled dough.
Reveal Solution

Hint 162
Use the pattern on the dough to rotate the dials on the box in the reception.
Reveal Solution

Hint 163
Collect the record piece.
Hint 164
Collect the piece of the bell.
Hint 165
Press the four arrows on the mirror in the bathroom and take a photo of what each reveals.
Hint 166
Use the patterns from the mirror to unlock the box on the bed.
Reveal Solution

Hint 167
Collect the record piece.
Hint 168
Collect the tube of glue.
Hint 169
Take a photo of the painting above the bed.
Hint 170
Use the shapes and colours of the fence post in the bedroom to line up the gauges on the side of the motel.
Reveal Solution

Hint 171
Use the shapes created by the gauges to enter the correct roman numerals under the painting.
Reveal Solution

Hint 172
Collect the record piece.
Hint 173
Collect the piece of the bell.
Hint 174
Press each of the name buttons by the window in the room and see which names they spell out above the motel.
Hint 175
Rotate each of the names to their respective pairs on the circle box in the room.
Reveal Solution

Hint 176
Collect the record piece.
Hint 177
Collect the piece of the bell.
Hint 178
Place all three pieces of the bell onto the base plate on the reception desk.
Hint 179
Place all 4 record piece downs on the desk in the room.
Hint 180
Arrange the record pieces so they fit and glue them together.
Hint 181
Collect the fixed record.
Hint 182
Place the record on the record player and listen to the clue.
Hint 183
Use the bell in reception to light the correct number of dots for the clue.
Reveal Solution

Hint 184
Use the UV torch on the card that pops out to see something.
Hint 185
Visit the new location.
Hangar
Hint 186
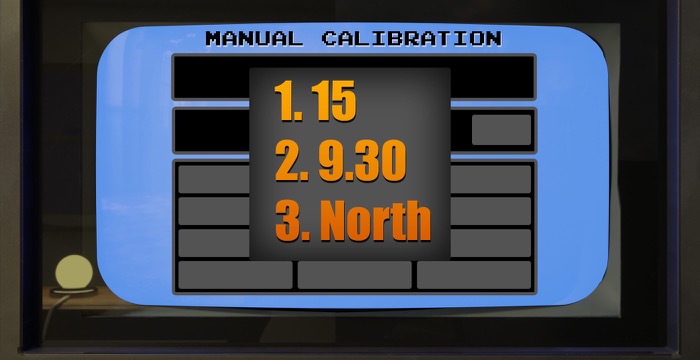
Head to the control tower and notice there is a computer that requires calibration.
Hint 187
Collect the ball of wool from the metal cabinet in the control tower.
Hint 188
Head outside, climb the ladder, and use the wool on the broken window.
Hint 189
Walk into the hangar and go to the table with the thermometer on, below the window, and tie the wool to it.
Hint 190
Climb back up the ladder and pull up the wool, take a photo of thermometer now it shows the outside temperature.
Hint 191
Go back to the control tower and take a photo of the photo on the pinboard ( just go with us here ).
Hint 192
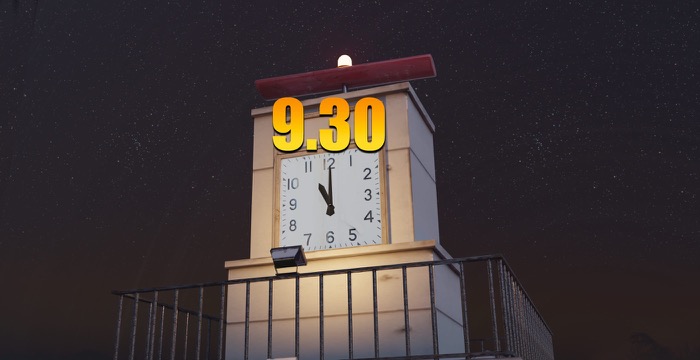
Go outside and climb the clock tower, work out what the real current time is using the discrepancy between when the photo of the clock was taken and what time the clock says it is.
Reveal Solution

Hint 193
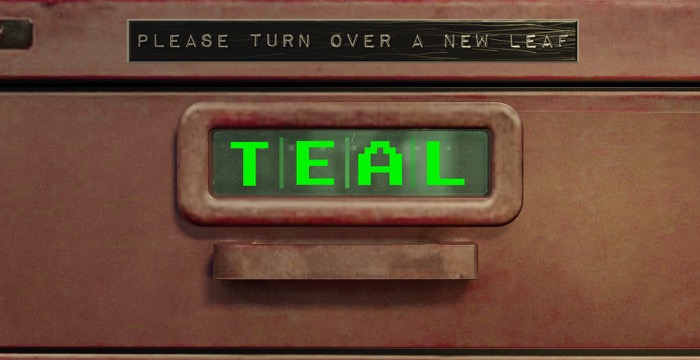
Take a photo of the tea leaf tin on the tea station in the control tower.
Hint 194
Rotate the photo and enter the letters into the screen on the metal cabinet.
Reveal Solution

Hint 195
Pick up the windsock.
Hint 196
Place the windsock on the flagpole outside so that you know the wind direction.
Hint 197
Enter all 3 answers into the computer to calibrate it.
Reveal Solution

Hint 198
Use the clue from the re-calibrated computer to unlock the box in the room below the control tower.
Reveal Solution

Hint 199
Collect the metal disc from the box.
Hint 200
Place the disc into the first slot on the wall panel.
Hint 201
Take a photo of the paper plane on the table in the control tower.
Hint 202
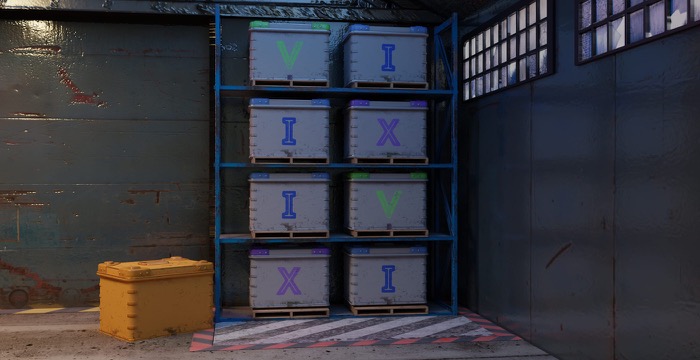
Using the parts of each name on the plane wings, re-arrange the hangar crates using the forklift.
Reveal Solution

Hint 203
Collect the metal disc from the box from the yellow crate near the forklift.
Hint 204
Place the disc into the second slot on the wall panel in the room below the control tower.
Hint 205
Using trial-and-error unlock the wooden crate in the hangar.
Reveal Solution

Hint 206
Collect the binoculars from the hatch.
Hint 207
Use the binoculars on the plane flying past outside and take a photo of the ID number.
Hint 208
Enter the ID number into the in-flight camera computer in the control tower and take photos of the symbols you can see on the rooftops.
Reveal Solution

Hint 209
Go to the hangar and press those symbols in on the wall and collect the metal disc.
Reveal Solution

Hint 210
Place the disc into the third slot on the wall panel in the room below the control tower.
Hint 211
Take a photo of the targets in the alleyway near the control tower.
Hint 212
Rotate all the discs so that they match the targets.
Reveal Solution

Hint 213
Collect the plane keys ( This is definitely how planes work. )
Hint 214
Press the button on the box outside near the steps to briefly open all shutters, then use memory to open the correct shutters in pairs.
Hint 215
Press the buttons to set the landing light sequence. Copy these sequences with each of the sliders for the 3 door control boxes inside the hangar, near the doors.
Reveal Solution

Hint 216
Use the keys on the plane to move it out of the hangar now the doors are open.
Hint 217
Pick up the map from the floor of the hangar and visit the new location.
Temple
Hint 218
Walk through the door, up the steps, left twice, and then view the flashing gadget. Press the button to watch the path it takes and make a note of the directions.
Hint 219
Use the direction the light moves to slide the sliders in the cabin.
Reveal Solution

Hint 220
Collect the brush.
Hint 221
Walk back to the wooden steps near the entrance and use the brush to dust off the mosaic.
Hint 222
Take a photo of the mushrooms surrounding the tree stump.
Hint 223
Use the positions of the mushrooms near the stump and the order of them in the mosaic to tap the required lights near the cabin and collect the knife.
Reveal Solution

Hint 224
Use the knife to cut down the vines hanging between the trees.
Hint 225
Walk back to the flashing gadget and tie the vine to the secure looking tree.
Hint 226
Climb down the vine and take a photo of the symbols on the wall.
Hint 227
Take a photo of the bunting near the tent.
Hint 228
Take a photo of the book inside the tent.
Hint 229
Using the positions, and number, of dots on the wall near the raised platform as a guide to see what words are spelt in the bunting.
Now look at the book in the tent to see what symbols pair up with those numbers, and use that to unlock the door to the temple.
Reveal Solution

Hint 230
Collect the ladder from the cabin.
Hint 231
Go into the pillar room and place the RC car in the little hatch near the ground.
Hint 232
Place the ladder by the window inside the temple entrance.
Hint 233
Climb the ladder in the entrance and look through the window into the room below.
Drive the car around the platforms until you make it to the sun icon.
Reveal Solution

Hint 234
Collect the metal weight from the hatch.
Hint 235
Walk up the steps in the entrance and collect the spear.
Hint 236
Walk to the hieroglyph room and collect the curtain fabric.
Hint 237
From where you collected the spear walk down the steps until you get to a set of two stars, then walk up the right hand ones and use the spear to clear the alcove of spider webs and collect the metal plate from inside.
Hint 238
Take a photo of the markings in the now spider web free alcove.
Hint 239
Walk back to the single stairs and place the metal plate in the box in the alcove.
Hint 240
Use the photo you took of the spider alcove to position the plates and collect the staff.
Reveal Solution

Hint 241
Place the staff into the stone in the hieroglyph room.
Hint 242
Take a photo of the light hitting the hieroglyph wall.
Hint 243
Place the curtain with the other one in the room above the RC car track, close both curtains and take a photo.
Hint 244
Using the pattern from the curtain clue press the required sliders on the puzzle at the top of the double stairs and collect the diving gear.
Reveal Solution

Hint 245
Using the goggles dive under the water in the pillar room and use the clue from the hieroglyph room to open the hatch.
Reveal Solution

Hint 246
Turn on the generator to get the lights working.
Hint 247
Collect the empty sack from the wheel room.
Hint 248
Fill the empty sack with sand from outside the wheel room.
Hint 249
Place the sand filled sack on the pedestal in the room beyond the double stairs and collect the weight.
Hint 250
Collect the stone wheel from under water.
Hint 251
Place the stone wheel onto the peg in the wheel room and take photos of all the hieroglyph pairs.
Hint 252
Use the pairs from the stone wheels to rotate the left hand pillar in the pillar room so the hieroglyphs pair up with the ones on the right.
Reveal Solution

Hint 253
Collect the metal weight.
Hint 254
Place all 3 weights on the scales in the room beyond the water hatch.
Hint 255
Take a photo of the plaque on the floor of the temple entrance.
Hint 256
Arrange the weights on the scales so they spell out the quote in the temple entrance.
Reveal Solution

Hint 257
Collect the swipe card from near the computer.
Hint 258
Use the swipe card to unlock the exit door near the generator.
Hint 259
Look at the packing label on the crate outside and visit the new location.
Island
Hint 260
Take a photo of the playing cards on the coffee table.
Hint 261
Use the values of cards to flip the cabinet switches in the required order.
Reveal Solution

Hint 262
Collect the sieve.
Hint 263
Use the sieve to fishnap Goldie from the bedroom fish tank.
Hint 264
Put Goldie in the fishbowl to lure out Orion the cat.
Hint 265
Walk out of the corridor so that Orion can eat in peace. You know cats.
Hint 266
Take the key from Orion’s collar.
Hint 267
Use the key to unlock the writing desk in the living room.
Hint 268
Take a photo of the note inside the writing desk.
Hint 269
Write those letters out using the typewriter in the bedroom and take a photo of the resulting words.
Hint 270
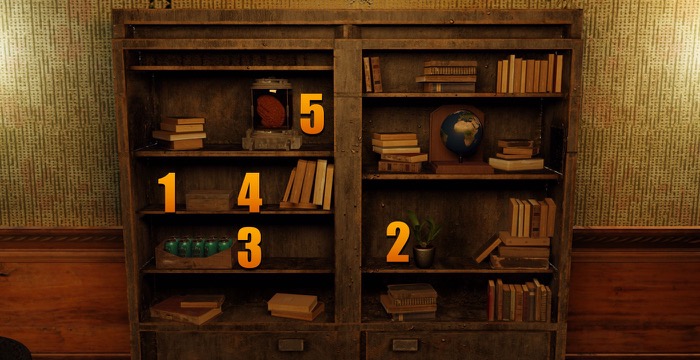
Using the words from the typewriter interact with the required items on the bookcase to unlock it.
Reveal Solution

Hint 271
Insert the weird key into the weird key hole by the laser door and pull it to deactivate the lasers, then walk through.


